Why J-Link?
In case you wonder why Eclipse Embedded CDT decided to provide support for SEGGER J-Link, the short answer is: because of J-Link EDU and of SWO. The long answer may include the following:
- wide processor support (probably you won’t find an unsupported Arm processor in the entire galaxy, and if you do find one, in a remote quadrant, I’m pretty sure it’ll be shortly added to the list)
- it is a true multi-platform solution, providing drivers for Windows, macOS and GNU/Linux, Intel and Arm.
- it comes with a standard GDB server implementation, compatible with existing Arm toolchains
- in addition to the classical JTAG protocol, it implements the new SWD protocol
- when SWD is selected, it is capable to sample the SWO pin, for trace messages and other Arm specific debugging
- it is fast, up to 15 MHz for JTAG clock and up to 7.5 MHz SWO sampling frequency for the new V9 hardware (12 MHz JTAG / 6 MHz SWO for V8, and even up to 100 MHz SWO for the high-performance ULTRA+, PRO models)
- it supports all possible target voltages, from 1.2V to 5V
- in addition to the regular debugging functionality, it is also able to write the internal flash, and, even more, it uses a smart flash writing algorithm, to avoid unnecessary writes if the flash blocks did not change
- it is a mature, proven product, with a great support team
- it provides an entire range of probes, J-Link, J-Link Pro, including a special priced version for educational use, the J-Link EDU (available from many distributors, for example from Farnell)
The J-Link was present on the JTAG market for many years, but, considering the initial prices, only commercial companies could afford them. After a fierce fight against Chinese clones, sold for a fraction of the price, in 2012 SEGGER decided to introduce a low price version, J-Link EDU, restricted to educational and non-commercial usage, making it the JTAG probe of choice for open source Arm development.
Overview
J-Link comes not only with a GDB server, but with a complete set of drivers and utilities, packed by SEGGER separately for each platform. The same distribution includes drivers for all J-Link probes, so installation is quite simple. The J-Link binaries are available from the SEGGER site.
There are different sections, grouped by platform (Windows, macOS, Intel GNU/Linux, Arm GNU/Linux); go to the platform of your choice.
Click the Download button close to the J-Link Software and Documentation Pack appropriate for your development platform. For Linux there are separate 32/64-bit versions, packed with different tools (DEB, RPM, TGZ); select the package that better matches your system.
Accept the terms of the software agreement and download the software.
Documentation
The J-Link GDB server is documented in the UM08001 manual, available either in the installed folder, or from the SEGGER J-Link page.
Install
The Windows download is an executable installer, named like
JLink_WindowsV684.exe.
- double click it to start the installation process
- enter the administrative password
- accept the license
- accept the destination folder (
C:\Program Files (x86)\SEGGER\JLink) - accept the default USB driver
The result of the install is a folder, and a set of driver files installed in the system folders, all overwritten with each new install.

Please note that on Windows, SEGGER provides both graphical interface
and command line versions (having the names suffixed with CL) for
most of their tools. For the J-Link plug-in it is recommended to use
only the command line version of the J-Link GDB server
(JLinkGDBServerCL.exe).
The macOS download is a macOS package installer, named like
JLink_MacOSX_V684.pkg.
- double click it to start the installation process
- accept the license
- enter the administrative password, required to write in the global
/Applicationsfolder
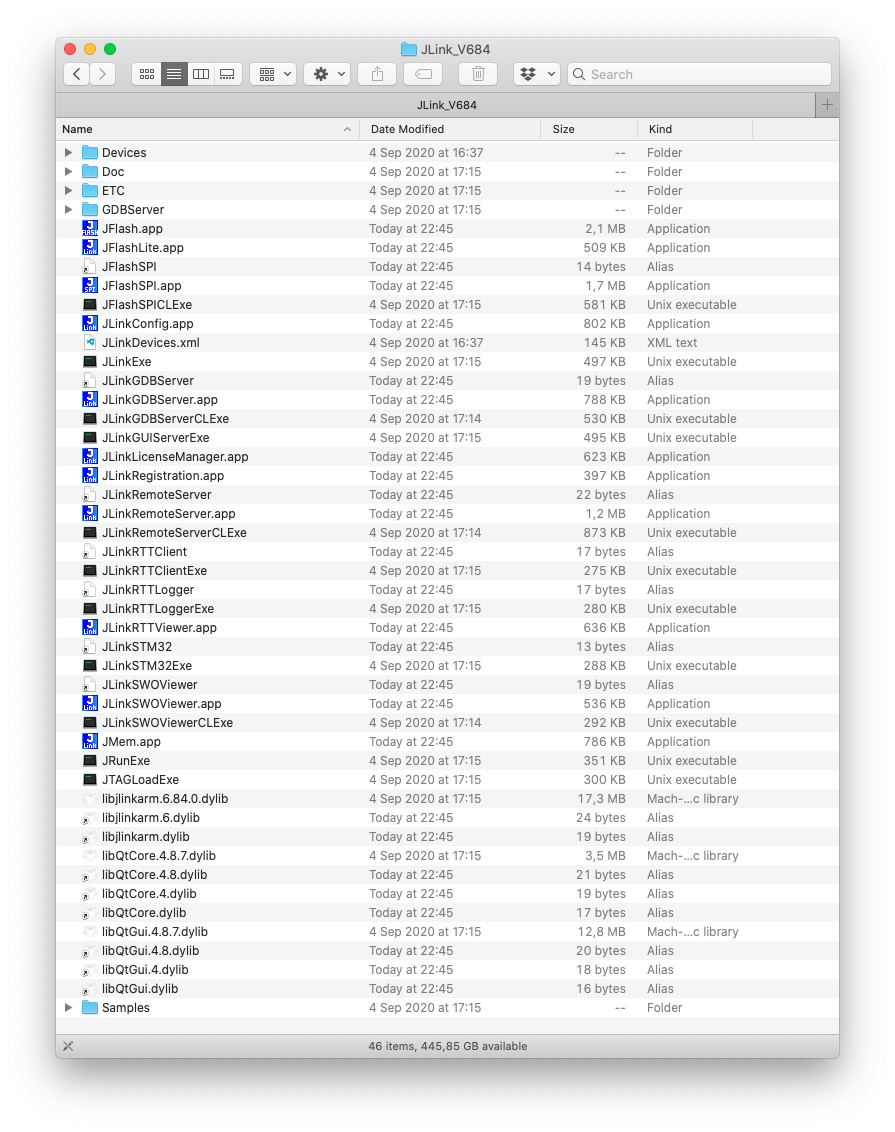
The result of the install is a folder like /Applications/SEGGER/JLink_V684/
(a different folder for each version) where all executables and libraries are
stored; please note that, as for many macOS applications, no other driver
files are installed in the system folders, but some symbolic links to the latest
installed version are created in the /usr/local/bin folder.
Be sure to update the path in Eclipse preferences page to point to the latest SEGGER J-Link software.
USB
On macOS, the USB subsystem automatically identifies and allows access to USB devices, without the need to maintain a manual list similar to the one used by UDEV in GNU/Linux. No other drivers or system configurations are required.
As already mentioned, there are multiple packages available for GNU/Linux on the SEGGER download site, in 32/64-bit versions. Preferably download the .tgz and install it in your home folder.
For example, on Ubuntu, to install the 64-bit .tgz file, use the following commands:
$ mkdir -p ~/opt/SEGGER
$ cd ~/opt/SEGGER
$ tar xf ~/Downloads/JLink_Linux_V684_x86_64.tgz
$ chmod a-w ~/opt/SEGGER/JLink_Linux_V684_x86_64
$ ls -l ~/opt/SEGGER/JLink_Linux_V684_x86_64
Raspberry Pi OS
On a Raspberry Pi OS 64-bit, use the 64-bit .tgz file, and unpack
it in ${HOME}/opt/SEGGER:
$ mkdir -p ~/opt/SEGGER
$ cd ~/opt/SEGGER
$ tar xf ~/Downloads/JLink_Linux_V684_arm64.tgz
$ chmod a-w ~/opt/SEGGER/JLink_Linux_V684_arm64
$ ls -l ~/opt/SEGGER/JLink_Linux_V684_arm64
UDEV
After manually unpacking the .tgz, you need to copy the rules file:
$ sudo cp ~/opt/SEGGER/JLink_Linux_V684_*/99-jlink.rules /etc/udev/rules.d/99-jlink.rules
~/opt/SEGGER path, since by default the Eclipse Embedded CDT plug-ins
search for the executables in this location. Be sure you respect the case,
it is all upper-case SEGGER.Testing
To test if J-Link is able to connect to a specific board, you generally need to specify the interface (JTAG or SWD) and the device name. By default, J-Link GDBServer will try JTAG but if only SWD is wired (which is very common on custom hardware), you would need to specify the interface (-if SWD). The device name is needed for targets which require special handling on connect (e.g. due to silicon bugs which make auto-detection impossible). For a list of available device names, please refer to the SEGGER Supported devices page.
Here is an example how to test a
SWD connection to a STM32F407 evaluation board (-device STM32F407VG)
on macOS.
$ /Applications/SEGGER/JLink/JLinkGDBServer -if SWD -device STM32F407VG
SEGGER J-Link GDB Server V6.84 Command Line Version

JLinkARM.dll V6.84 (DLL compiled Sep  4 2020 16:12:40)

Command line: -if SWD -device STM32F407VG
-----GDB Server start settings-----
GDBInit file:                  none
GDB Server Listening port:     2331
SWO raw output listening port: 2332
Terminal I/O port:             2333
Accept remote connection:      yes
Generate logfile:              off
Verify download:               off
Init regs on start:            off
Silent mode:                   off
Single run mode:               off
Target connection timeout:     0 ms
------J-Link related settings------
J-Link Host interface:         USB
J-Link script:                 none
J-Link settings file:          none
------Target related settings------
Target device:                 STM32F407VG
Target interface:              SWD
Target interface speed:        4000kHz
Target endian:                 little

Connecting to J-Link...
J-Link is connected.
Firmware: J-Link Pro V4 compiled Jul 17 2020 16:24:59
Hardware: V4.00
S/N: XXXXXXXXX
Feature(s): RDI, FlashBP, FlashDL, JFlash, GDB
Checking target voltage...
Target voltage: 3.00 V
Listening on TCP/IP port 2331
Connecting to target...
Connected to target
Waiting for GDB connection...
^C
On Windows, to start the GDB server, use back-slashes in the path and the CL (command line) version:
C:\>C:\Program Files (x86)\SEGGER\JLinkARM_V684\JLinkGDBServerCL
On Ubuntu the command is simple:
$ /usr/bin/JLinkGDBServer
In all cases, the result should be similar to the one obtained on macOS.
The J-Link plug-in
If you successfully installed SEGGER binaries, you can proceed to the page documenting how to use the Eclipse Embedded CDT J-Link debugging plug-in.